After setting up the Arduino IDE to enable support for ESP8266, it’s time to write your first code for EasyESP-1 board. We will start with the classic hello world! example of electronics, a flashing LED.
After setting up the Arduino IDE to enable support for ESP8266, it’s time to write your first code for EasyESP-1 board. We will start with the classic hello world! example of electronics, a flashing LED.
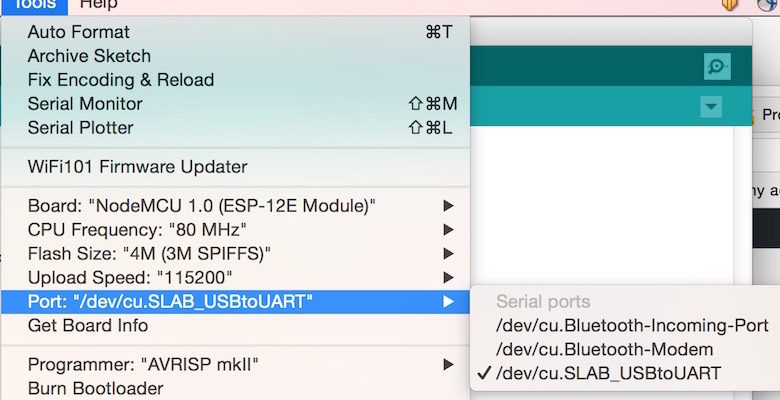
One of the simplest way to program the ESP8266 chip on board EasyESP-1 is using the Arduino IDE. Following steps describe how to enable the ESP8266 support in the Arduino environment. Step 1 : Install Arduino IDE
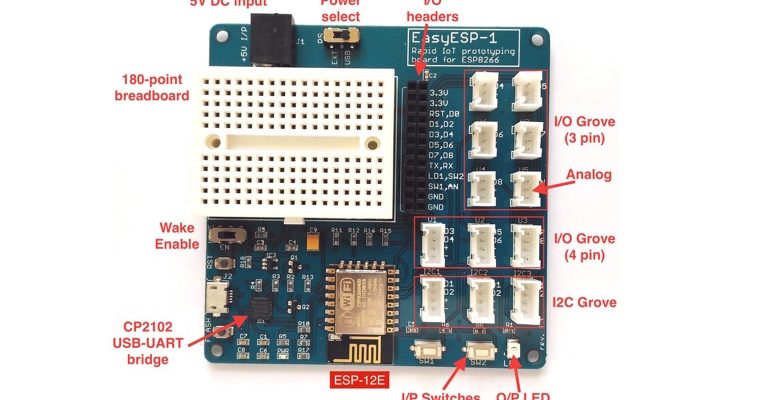
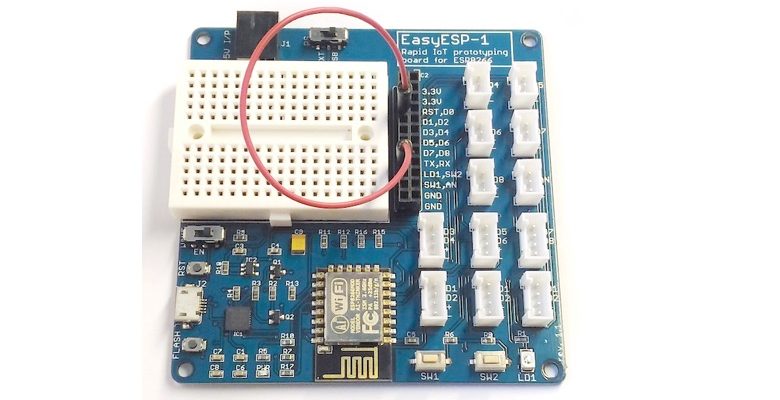
EasyESP-1 is a rapid prototyping development board for the low-cost, WiFi-enabled ESP8266 microcontroller. With an onboard USB-to-Serial converter pre-installed, EasyESP-1 does not require any additional hardware to download your application firmware to the ESP8266 chip. The