After setting up the Arduino IDE to enable support for ESP8266, it’s time to write your first code for EasyESP-1 board. We will start with the classic hello world! example of electronics, a flashing LED.
After setting up the Arduino IDE to enable support for ESP8266, it’s time to write your first code for EasyESP-1 board. We will start with the classic hello world! example of electronics, a flashing LED.
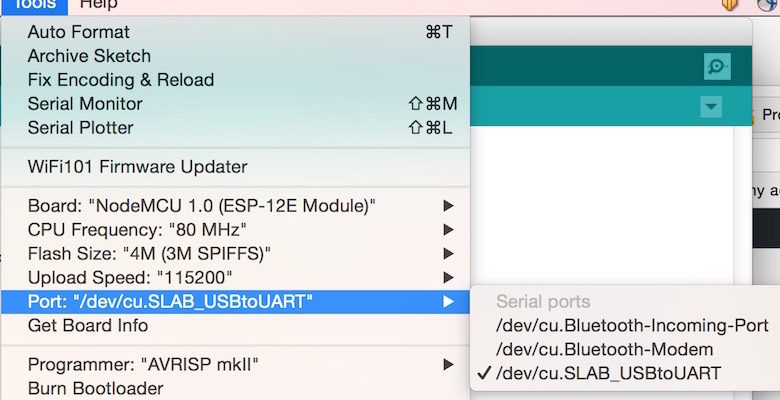
One of the simplest way to program the ESP8266 chip on board EasyESP-1 is using the Arduino IDE. Following steps describe how to enable the ESP8266 support in the Arduino environment. Step 1 : Install Arduino IDE
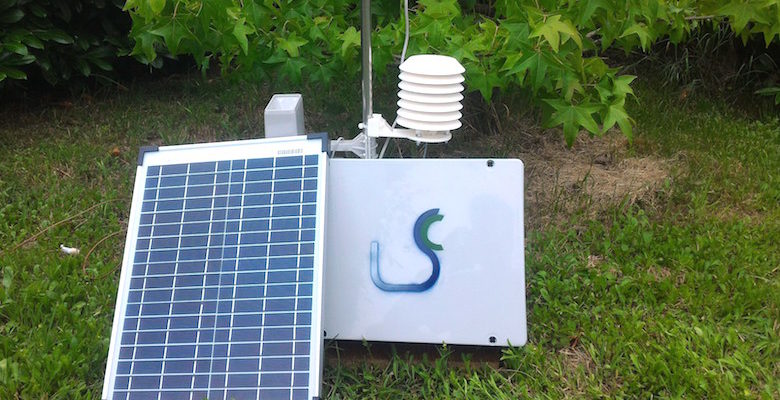
Matteo Monsello and Daniel Garčević built a solar-powered weather station with a particulate sensor to monitor air quality in Alba. It’s a modular design using ATmega328P microcontroller and uses the ESP8266 Serial-to-Wifi chip to upload the

Brian Dorey designed a standalone home energy monitor using the ESP8266 and a bunch of sensors that to monitor the mains current, the consumption of electric energy, as well as the gas usage. His ESP8266 energy monitor measures the mains current using
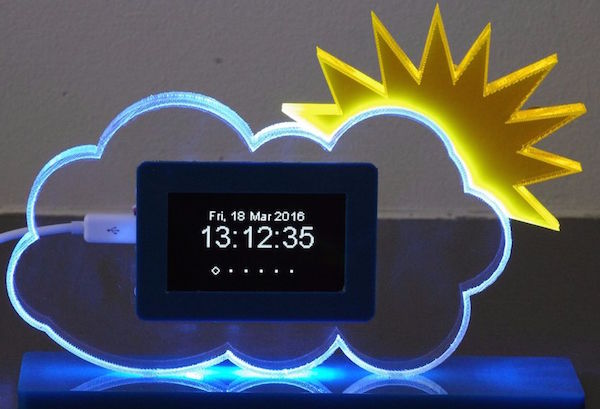
Dennisv15‘s Weather Station is WiFi enabled using ESP8266 and uses a 2.4″ OLED to display the weather data. It has got one of the most beautiful enclosure made of Acryllic sheet laser-cut in the shape
Hari Wiguna has shared on Hackaday.io his interesting scheme of making a 16-channel Wifi remote using the ESP8266 and PCF8574 I/O expander chips. PCF8574 device provides an 8-bit I/O expansion for any microcontroller through an I2C
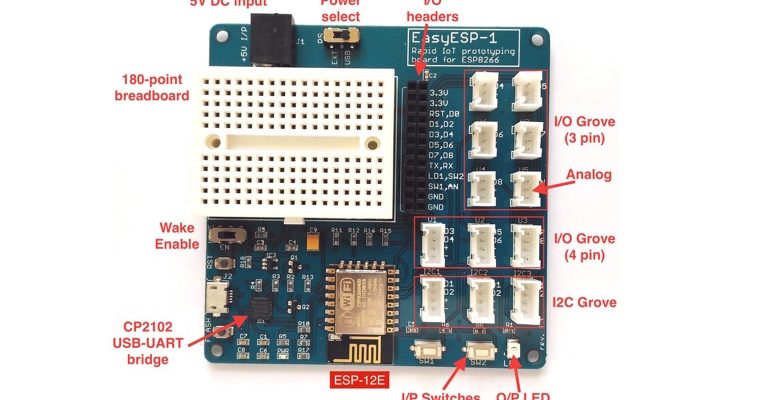
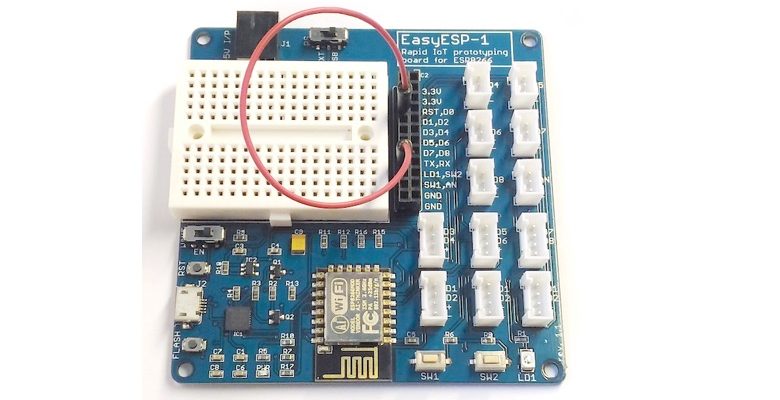
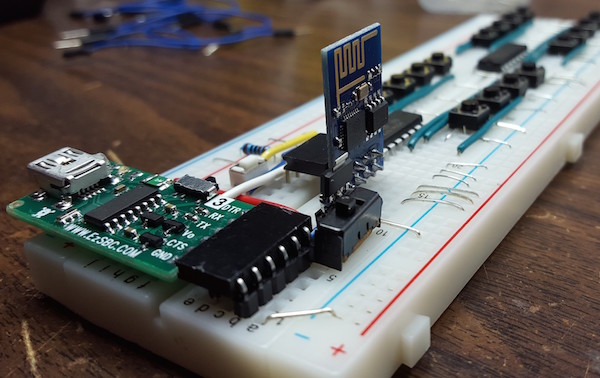
EasyESP-1 is a rapid prototyping development board for the low-cost, WiFi-enabled ESP8266 microcontroller. With an onboard USB-to-Serial converter pre-installed, EasyESP-1 does not require any additional hardware to download your application firmware to the ESP8266 chip. The