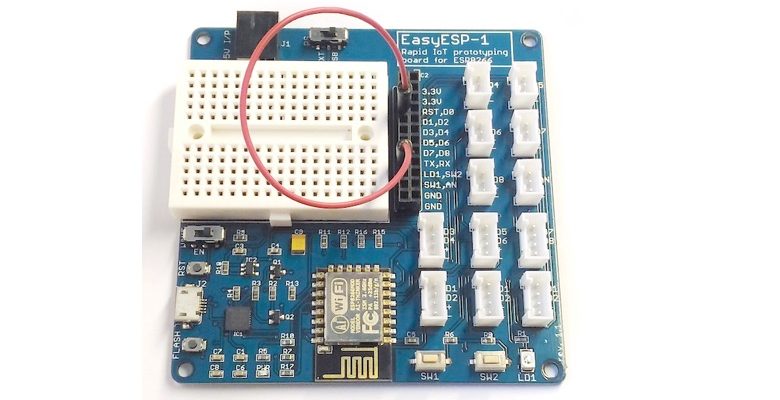
After setting up the Arduino IDE to enable support for ESP8266, it’s time to write your first code for EasyESP-1 board. We will start with the classic hello world! example of electronics, a flashing LED.
After setting up the Arduino IDE to enable support for ESP8266, it’s time to write your first code for EasyESP-1 board. We will start with the classic hello world! example of electronics, a flashing LED.